
Tuesday, April 30, 2013
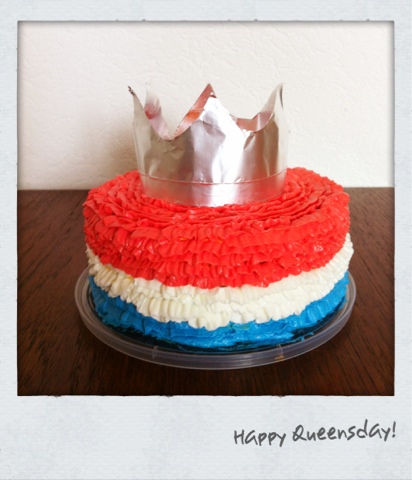
Happy Queensday!
Today is the last Queensday we'll be celebrating in quite some time. Our queen has abdicated and we salute our new king Willem Alexander. The documents are signed, the ceremony's been completed. Now let's party!
Wednesday, April 24, 2013
Graves
Graves is a cute winebar/café-restaurant in one of Amsterdam's hidden streets the Gravenstraat. They have a small French inspired menu and an extensive wine selection, many of which you can try by the glass. You can enjoy their dishes a la carte or as a chefs choice menu. Budget wise it's best to choose the chefs menu which goes for €40 p/p for 4-courses or €50 p/p for 6-courses.
My good friend Celia and I had a lovely diner here on a very slow Monday evening. The place was... uhm deserted for the first hour we were in. But that didn't ruin our fun. Actually it enabled me to have the chefs menu on my own, which usually needs to be ordered per table. Yes!
Our waiter was a friendly young man, who unintentionally was hilarious. He was trying his best to explain the menu to the French guests who arrived later. He had all kinds of facts up his sleeves about the food and wine. But his wittiness would not be translated. So basically he just confused the hell out of them! Understandably this only made him even more funny to us ;)
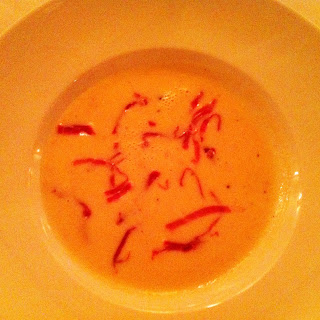
Anyways on to the food. We started of with some delicious oysters served with a lovely vinaigrette. They were soft and meaty and most importantly super fresh! Next was a potato and leek soup with strips of serrano ham. It was ok, the flavors complemented each other well but I can't say that I loved it.
As our mains we had a risotto with chantarelle mushrooms and yellow beets and a leg of lamb on some delicious rosti. I'm not a big fan of lamb because I find sometimes it tastes like a sweaty sock. But this one was cooked perfectly. It was juicy and seasoned perfectly. As desert I opted for the sweet option and got a petit grand desert that consisted of really great caramel icing, super airy vanilla cream and a little chocolate & vanilla cake.
I reckon Graves get's frequented mostly by tourists because of it's location but I can honestly say that I consider it a very acceptable option for foodies on a budget. We very much enjoyed our diner and wouldn't hesitate in stopping by another time.
My good friend Celia and I had a lovely diner here on a very slow Monday evening. The place was... uhm deserted for the first hour we were in. But that didn't ruin our fun. Actually it enabled me to have the chefs menu on my own, which usually needs to be ordered per table. Yes!
Our waiter was a friendly young man, who unintentionally was hilarious. He was trying his best to explain the menu to the French guests who arrived later. He had all kinds of facts up his sleeves about the food and wine. But his wittiness would not be translated. So basically he just confused the hell out of them! Understandably this only made him even more funny to us ;)
Anyways on to the food. We started of with some delicious oysters served with a lovely vinaigrette. They were soft and meaty and most importantly super fresh! Next was a potato and leek soup with strips of serrano ham. It was ok, the flavors complemented each other well but I can't say that I loved it.
 |
 |
 |
 |
 |
 |
Saturday, April 20, 2013
Beetroot and Feta salad

Ingredients:
- 2 cooked peeled beets
- romain lettuce
- handful of mini roma tomatoes
- handful of roasted pine nuts
- 2-3 tbsp feta cubes
- half a small garlic clove
- 1 tsp honey
- 1 tbsp olive oil
- squeeze of lemon juice
- freshly ground black pepper
Directions:
- Arrange lettuce on a plate.
- Cut beets in 0,5 cm thick slices and place on top of lettuce.
- Cut tomatoes in half and arrange on plate.
- Add feta cheese.
- Crush the garlic and mix together with olive oil, honey, lemon juice and some freshly ground black pepper. Sometimes I heat the dressing in the microwave for a few minutes to get a deeper garlic flavor.
- Sprinkle dressing on top of salad and dig in!
Wednesday, April 17, 2013
Time flies...
Can you believe it's already been a year since my blogger birth!
I've thoroughly enjoyed sharing all my cakes & bakes and creativeness with you and I'll certainly continue doing so. But I've been blogging in secret and my friends have been asking me where all my cakes and bakes have gone. They're like: "I know you're still baking, but no pictures anywhere?!?." Hihihihi. I'ts so fun to have a lil secret!
But secret no more!
I promised them all would be revealed soon. What better occasion to do so than my first anniversary...
So I'm outing myself!

-xxx- Mee
Friday, April 12, 2013
Spinach quiche

Anyways for our family brunch last Easter I made this lovely spinach quiche, of course using this golden recipe :)
Ingredients crust:
- 125 gr unsalted butter
- 250 gr flour
- 3 tbsp grated cheese (the recipe calls for parmezan but I used regular matured cheese)
- 1 tsp salt
- 2 egg yolks (medium eggs)
- 2-3 tbsp ice water
Ingredients filling:
- olive oil
- 1 medium red onion, chopped finely
- 3 garlic cloves, chopped finely
- 600 gr frozen spinach (sort of thawed)
- 100 gr cream cheese
- 5 eggs
- 100 gr crumbled feta cheese
- nutmeg, salt and pepper for seasoning
Directions crust:
- Sieve flour, cheese, butter and salt in a mixing bowl. Crumble the butter with your hands or a fork.
- Now add the ice water to the egg yolks and whisk together. Add to your flour mixture.
- Mix in the egg with a fork then continue kneading it into a dough with your hands. Once you have a well blended dough, wrap it up in plastic foil and place in the refrigerator for at least 30 min.
- Roll out the dough so it's approximately 0,5 cm thick. Place in your quiche pan and trim of any excesses. With a fork prick holes over the bottom.
- Place some wax paper on top and pour in some dried beans*. Bake blind in oven for 10-15 min. Then brush with some egg wash and bake again for another 5-10 minutes.
~ The sides of my crust "shrunk" after baking blind, but I just added a new trim to fit the quiche pan and baked it as a whole with filling and all.
 |
 |
 |
 |
 |
 |
 |
 |
Directions filling
- Sauté garlic in some olive oil until cooked. Place tomatoes in the pan with the skin down, season with some freshly ground black pepper and cook on medium to high heat to create a roasted like effect. Once tomatoes are done turn heat of and set aside.
- Sauté onion and garlic in some olive oil until cooked. Add in the spinach and cook until most of the liquid has evaporated. Season with freshly ground pepper, salt and some nutmeg.
- In a large mixing bowl add spinach, cream cheese and eggs. Mix together with a fork then add in the crumbled feta cheese.
- Pour the spinach cheese mixture in your baked crust and distribute the tomatoes on top.
- Place quiche in oven and bake in 30-45 minutes.
 |
 |
 |
 |
 |
 |
 |
 |
* It's useful to have a special batch of "baking beans" on hand, personally I keep a bag of split peas I always use for blind baking.
Sunday, April 7, 2013
Newborn hat and mittens
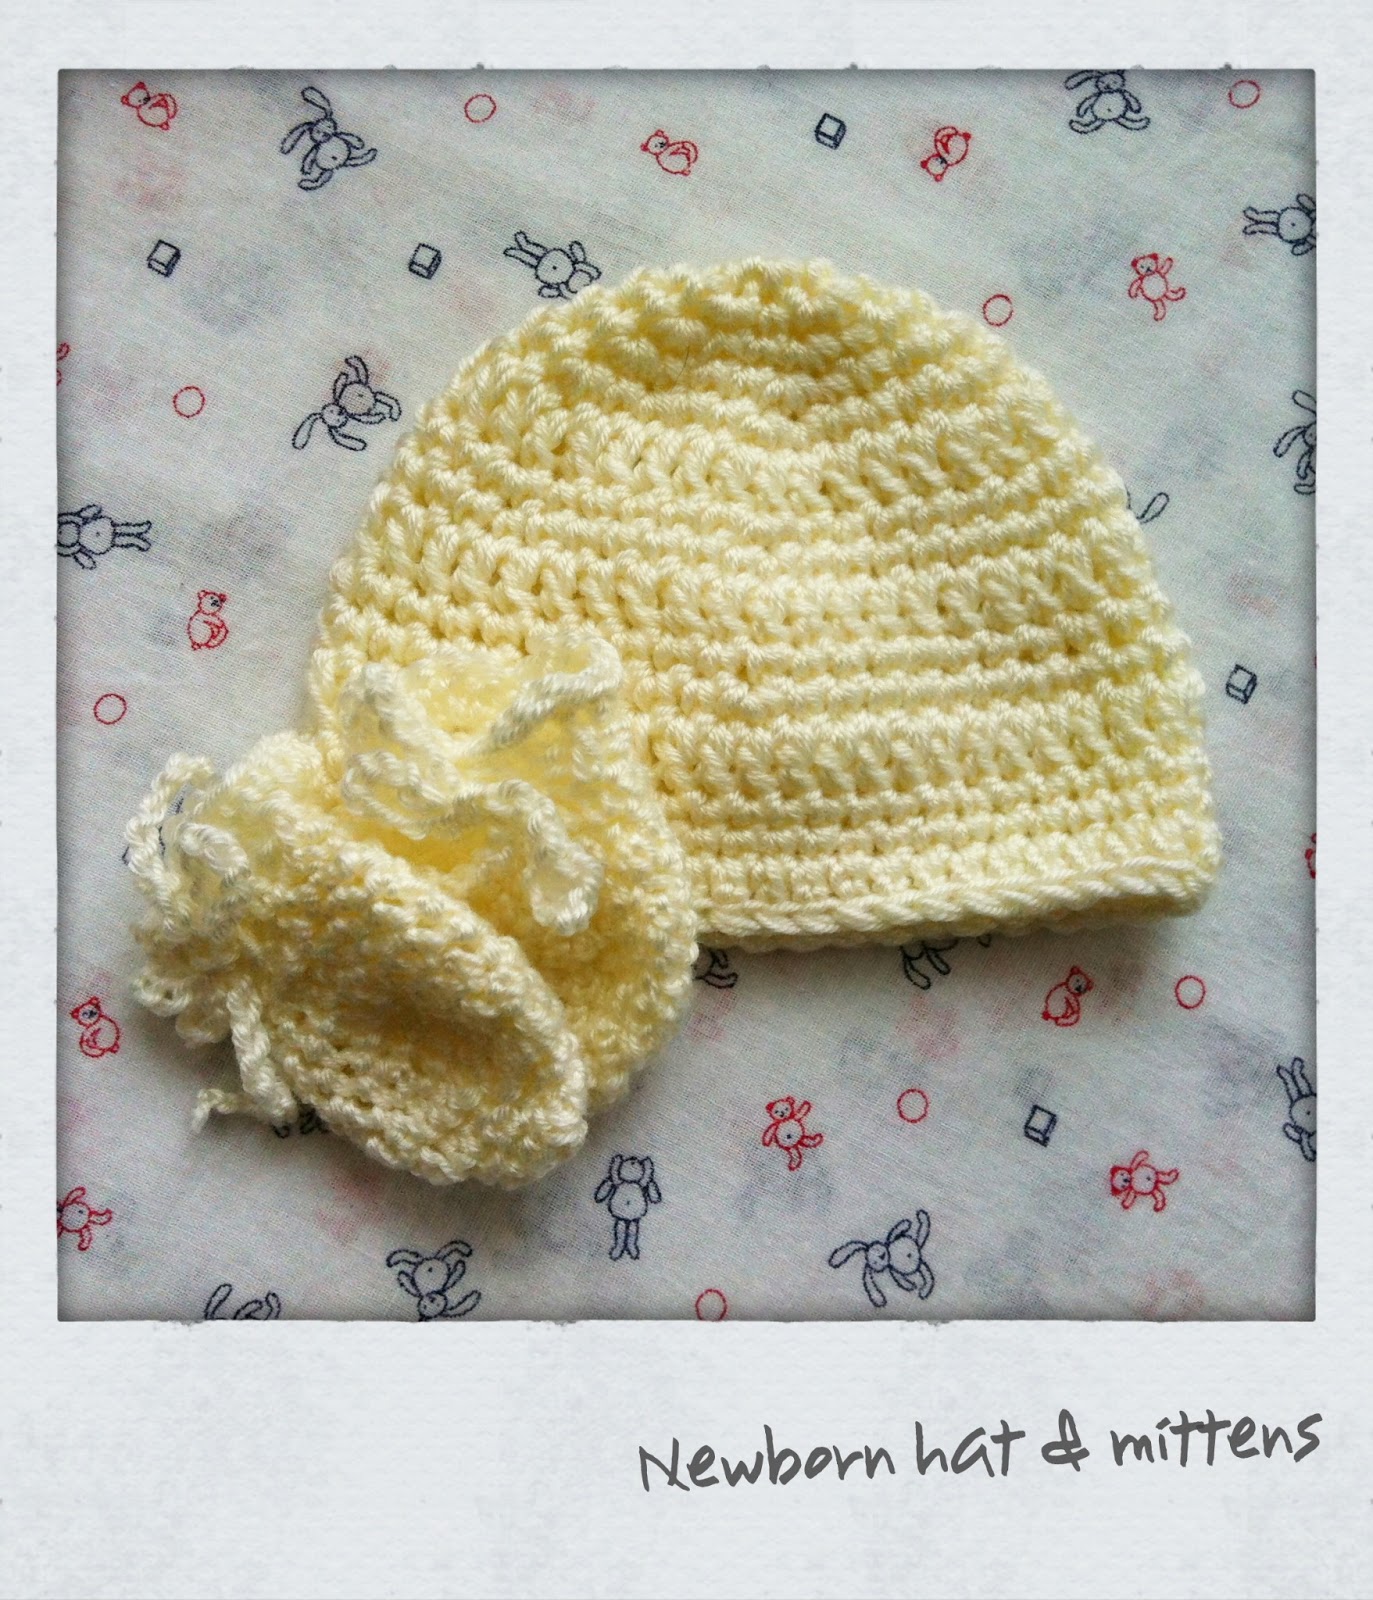
I used a very light and soft yarn: Cashmere Cotton Silk Soy Yarn, perfect for a newborn. I didn't even know fancy yarn like that existed... Anyway, it's a pretty thin yarn (360m/100gr) so I used two threads at the same time to make the hat a little bulkier and speed it up a bit. For both garments I used a 4 mm crochet hook, but for the mittens I used a single tread.
I wanted to make a simple design with a visible pattern. So I used this cute little hat and these mittens for inspiration. Both patterns are very simple, so you can whip up a matching set in a day!
Baby Oliver looked so cute rocking his little hat...
Newborn baby hat:
Chain 4, slip st in first ch to form ring.
R1: Work 6 sc in ring – 6 sts.
R2: Work 2 sc in each st around – 12 sts.
R3: [2 sc in next st, sc in next st] – 18 sts.
R4: [2 sc in next st, sc in next 2 sts] – 24 sts.
R5: [2 sc in next st, sc in next 3 sts] – 30 sts.
R6: [2 sc in next st, sc in next 4 sts] – 36 sts.
R7: [2 sc in next st, sc in next 5 sts] – 42 sts.
R8: Ch 2, dc in each st around, join with slip st to top of ch 2 – 42 sts.
R9: [2 sc in next st, sc in next 6 sts] – 48 sts.
R10: Ch 2, dc in each st around, join with slip st to top of ch 2 – 48 sts.
R11: Sc in each st around – 48 sts.
R12: Ch 2, dc in each st around, join with slip st to top of ch 2 – 48 sts.
R13-14: Sc in each st around – 48 sts.
R15: Slip st around – 48 sts.
Fasten off.
Newborn baby mittens:
Chain 4, slip st in first ch to form ring.
R1: Work 7 sc in ring – 7 sts.
R2: Ch 2, 2hdc in each st around, join with slip st – 14 sts.
R3: Ch 2, [2 hdc in next st, hdc in next st], join with slip st – 21 sts.
R4: Ch 2, [2 hdc in next st, hdc in next 2 sts], join with slip st – 28 sts.
R5-8: Ch 2, hdc in each st around, join with slip st – 28 sts.
R9: [Sc in next 3 sts, decrease], join with slip st – 23 sts.
R10: Ch 2, hdc in each st around, join with slip st – 23 sts.
R11: Ch 3, dc in each st around, join with slip st – 23 sts.
R12: Ch 1, [sc in next st, 3 hdc in next st, sc in next st], join with slip st – 39 sts.
Fasten off.
Make a chain of 50 stitches or as long as you considers convenient to tie the mittens.
Weave through the row of dc and all done!
 |
 |
Slip st=slip stitch
**You can easily change the size of your garment by choosing a bigger crochet hook, using bulkier
yarn or both ;)
Monday, April 1, 2013
Hello Kitty Cake
Last weekend we threw a baby shower for one of my best friends. She was completely unaware of our plans and almost peed her pants as we jumped up and yelled "Surprise"! It was soooooooooo funny :)
We totally spoiled her and her little one with lots of cute and handy gifts. Of course we also had a table full of yummie food and drinks.
Since she is such a huge Hello Kitty fan I tried my best at creating a Hello Kitty styled cake. I made a chocolate cake with cherries and whipped cream as a filling. I smoothed it over with chocolate buttercream and covered it with blue fondant. I then painted on some leopard spots and finished it of with a blue ribbon and a homemade fondant Hello Kitty cake topper.

Since she is such a huge Hello Kitty fan I tried my best at creating a Hello Kitty styled cake. I made a chocolate cake with cherries and whipped cream as a filling. I smoothed it over with chocolate buttercream and covered it with blue fondant. I then painted on some leopard spots and finished it of with a blue ribbon and a homemade fondant Hello Kitty cake topper.

The shower was a great success and good fun! Just a few more pic's for your enjoyment ;)
 |
 |
 |
 |
 |
 |
Subscribe to:
Posts (Atom)